
How to Start your Blog? (step by step guide for 2019)
So you want to create your first blog?
This is an excellent idea but how can you get started?
In this article, I am going to assume that you are an absolute beginner who has never built a website before.
I will teach you exactly how to build your blog step-by-step, starting from choosing a web host, registering a domain name, all the way up to how you write and promote your articles.
Without further ado, let’s jump right into it.
The first course of action is choosing a web host.
Step One: Choose a Web Host
Web hosting is a service that provides you with a computer (or computers) that will host the files that makes up your blog.
A blog (or any website for that matter) is nothing but some files living in some machine that is accessible from the internet.
And this machine has to be on 24/7 or otherwise your users won’t be able to access your blog at all times.
Choose convenience with Bluehost
If you want to get started writing your blog right away and you don’t want to spend your time fiddling with technical issues then I highly recommend Bluehost.
Bluehost will make the process of creating your website and your blog stupid easy because they mainly target non tech-savvy people.
Click here to check your exclusive offer from Bluehost.
Let’s take a look at all the services that Bluehost offers.

As you can see, Bluehost offers three different services: Shared hosting, VPS, and a dedicated hosting.
The service I recommend if you are just starting out is shared hosting.
Let me explain why.
But before I tell you why I recommend shared hosting, let me first explain what each of these options are:
Shared hosting means that your website will live side by side with other websites on the same virtual machine. In other words, One virtual machine will be serving your site alongside other sites.
VPS or Virtual Private Server is just a fancy word for a virtual machine. You can think of a virtual machine like a computer that is built entirely in software. In this offer, you basically own an entire virtual machine and you have exclusive and full access to it. You can connect remotely to this virtual machine, install applications, and do whatever you want as if you were working on your own laptop. Needless to say, this virtual machine will be serving your website and your website only.
Dedicated means that you will be renting an entire physical (not virtual) machine.
So why do I recommend Shared hosting then?
The biggest advantage of shared hosting is that it is ridiculously cheap so it is an excellent choice if you are just starting out or if you just want to play around and get comfortable with creating websites.
Another advantage is that shared hosting requires no technical skills whatsoever.

VPS and dedicated hosting, on the other hand, requires a great deal of technical skills.
Now that you have your web host in place, let’s pick a name for your website!
Step Two: Register your Domain Name
In this step, you will be registering your domain name.
To put it simply, your domain name is your website name
For example, the domain name of this site is afternerd.com
But let’s nerd out a little bit and explain how domain names actually work.
Each computer on the internet has an address called an IP address.
Think of this IP address as your mailing address.
As a matter of fact, when you sign up with a web hosting service, you are assigned an ip address.
And to be able to communicate with any machine over the internet, you need to know the IP address of that machine.
So for example when you type ‘google.com’ on your browser, your browser will automatically try to translate the name ‘google.com’ to its IP address.
This happens by querying something called a DNS server.
With this information in mind, here is what you are going to do in this step.
1- reserve the domain name for yourself so that no one else can use it.
2- configure the domain name to map to the ip address of the machine you have from your web host.
Where can you register your domain name?
First off, before you go shopping around make sure to check if your web host offers a free domain name.
Sometimes hosting companies will offer you a free domain name for a year to incentivize you to host with them.
Another thing you must know is that registering a domain name is on an annual recurring expense.
If you don’t pay, you lose the name, and someone else can buy it. 😱😱
Don’t forget to do that or bad things could happen 🙂.
It’s only like 10 bucks a year anyways.
There is a plethora of services that offer domain name registration but here are the only two that I use:
1- Namecheap
Namecheap is an extremely popular choice simply because domain names on this site are usually slightly cheaper compared to other alternatives.
But this is not where Namecheap shines, in my opinion Namecheap has a super easy-to-use user interface and a great customer support.
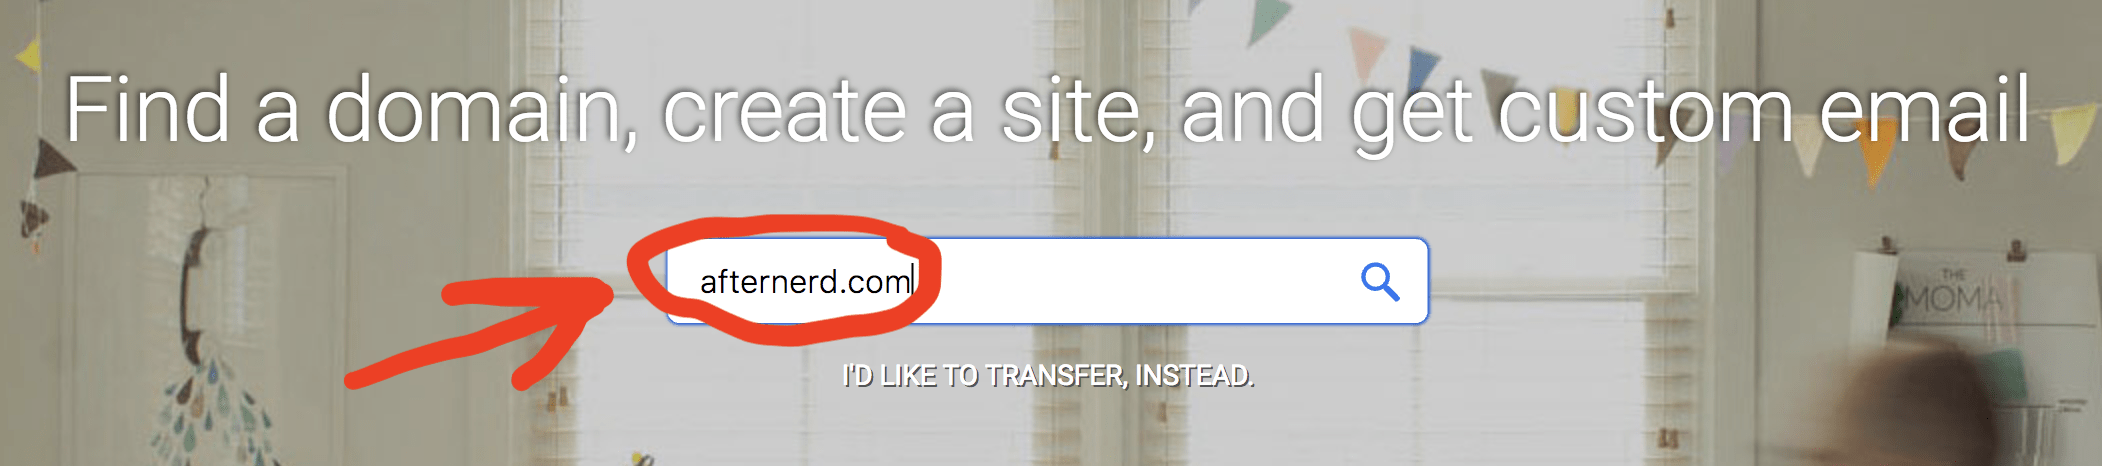
To get started, go to their website and type in what domain name you want and let’s hope it’s available 🙂
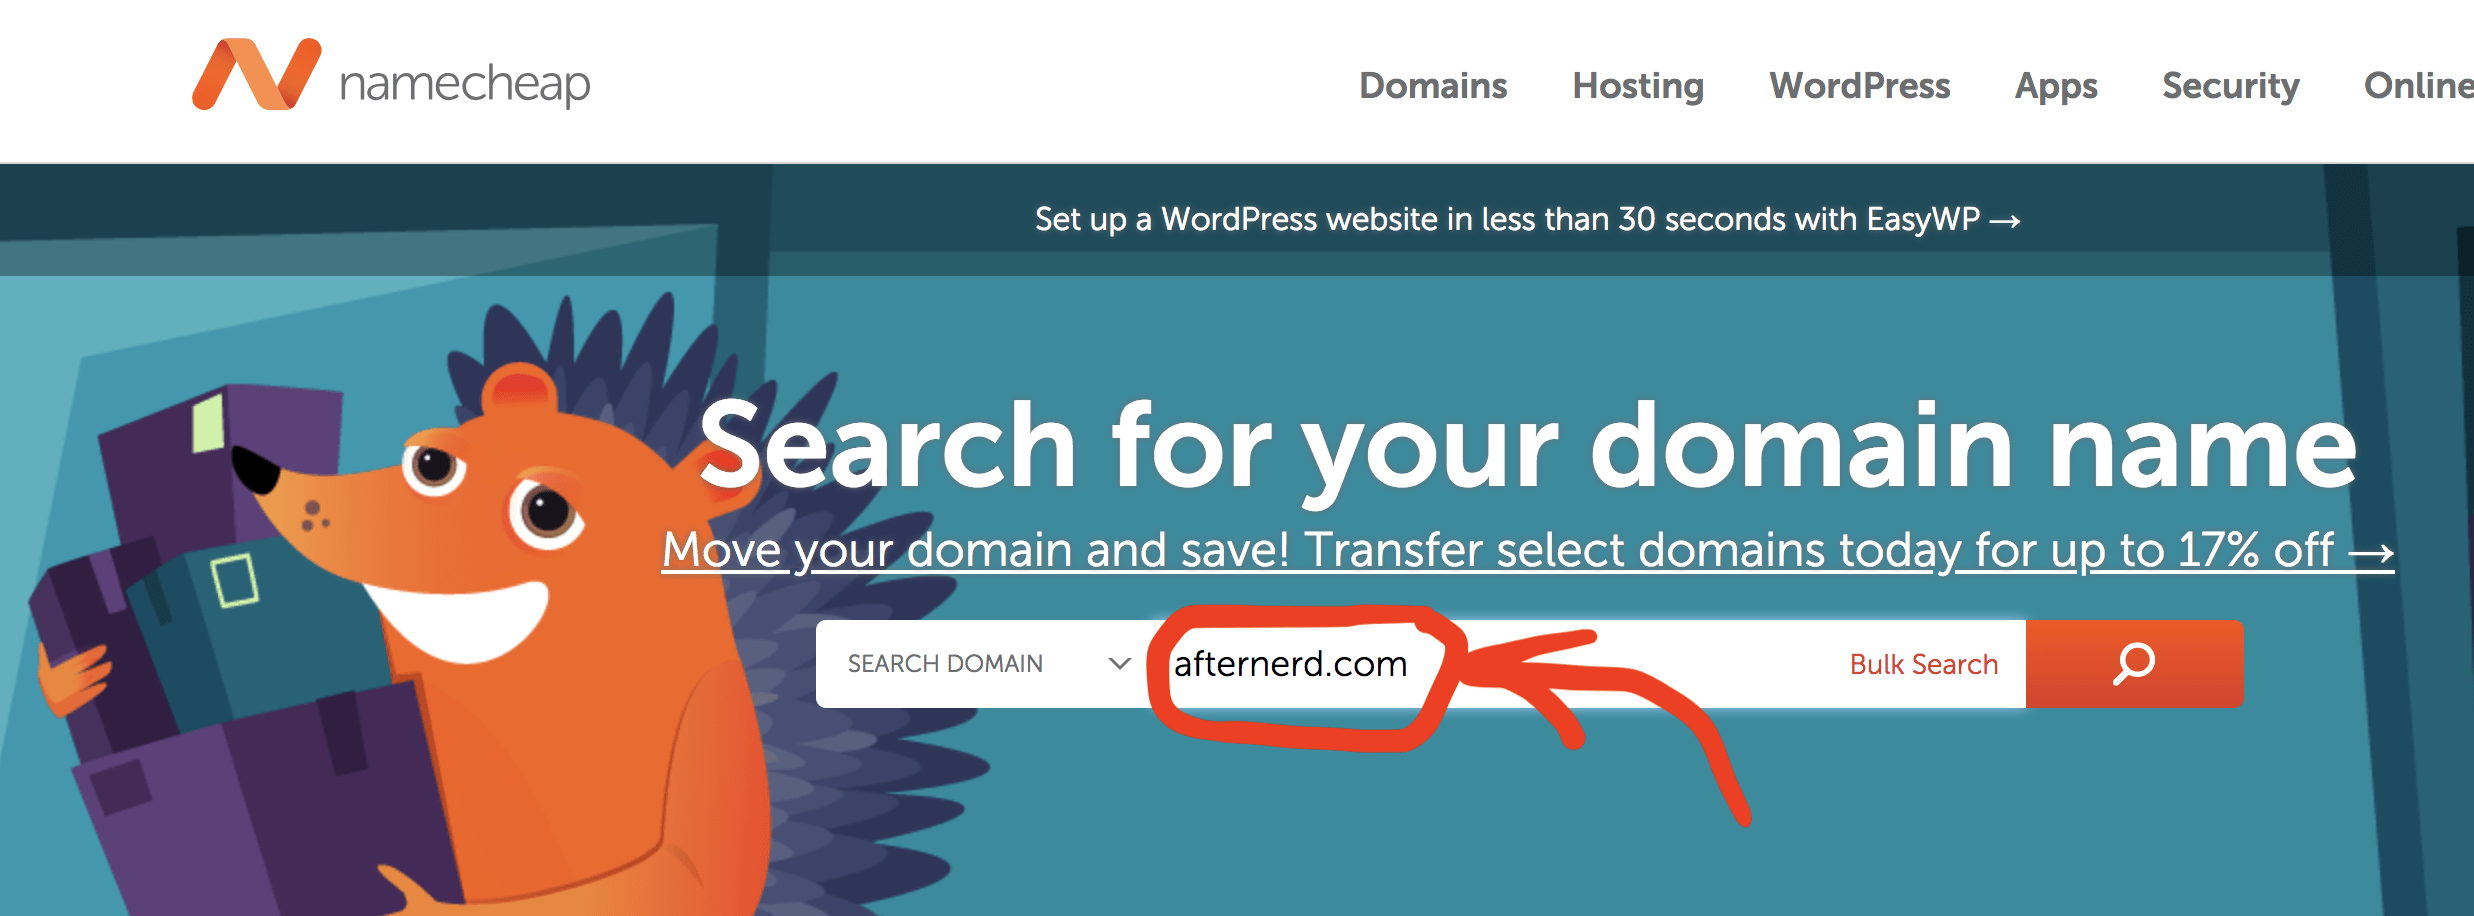
If you are lucky, your domain will be available and you can, and should, register it right away!
Also make sure to pick a relatively short, easy to remember, and brand-able name for your website.
Your domain name is your brand, so treat it as such.
2- Google Domains
Another fantastic service that I frequently use these days is Google domains.
It also has a very nice interface and is super easy to use.
Whether you go with Namecheap or Google domains (or any other service for that matter), you will need to configure your domain name to map to your IP address.
As I said earlier, you will be able to get your IP address from your web hosting service.
Configuring the mapping between your domain name and the IP address is done in your domain name provider website.
Step Three: Install WordPress
Let’s revise what you have done so far to set the stage for what’s next.
You have a machine from your web host that is connected to the internet 24/7 and is ready to serve your blog.
You also have a domain name so that people can visit your website by typing your domain name in their browsers.
Now it’s finally time to sit down, relax, and start writing your awesome blog posts.
For this you need WordPress.
WordPress is a platform that the vast majority of blogs on the internet are built on (including afternerd.com).
Here is how the platform looks like.
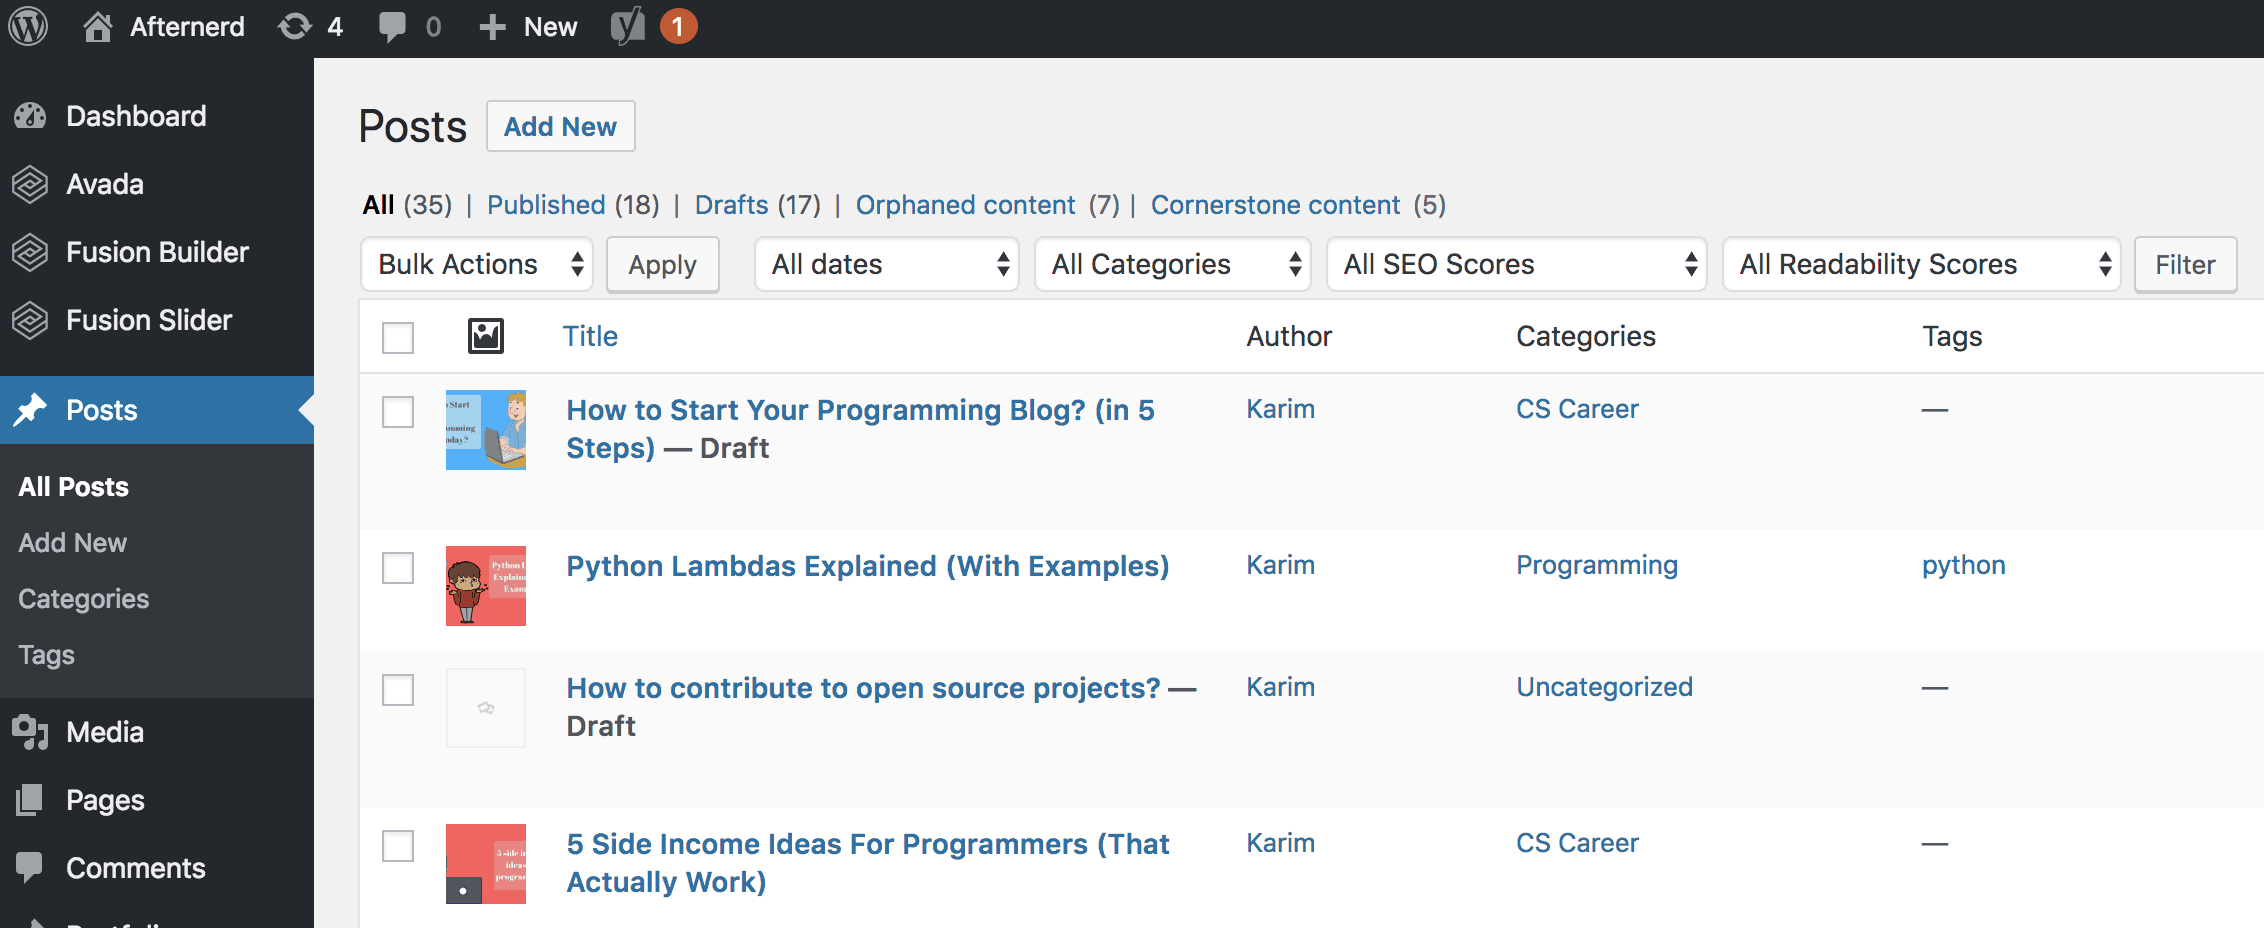
As you can see, it has a very clean user interface.
It is also reliable, free, open-source, and very easy to use.
With WordPress, you can literally start publishing your first article on the same day you sign up for your web host.
Now let’s see how you can install WordPress on Bluehost and on Digital Ocean.
WordPress on Bluehost
We talked before that with Bluehost you get a lot of convenience.
Case in point, installing WordPress to your website is just one button-click away!
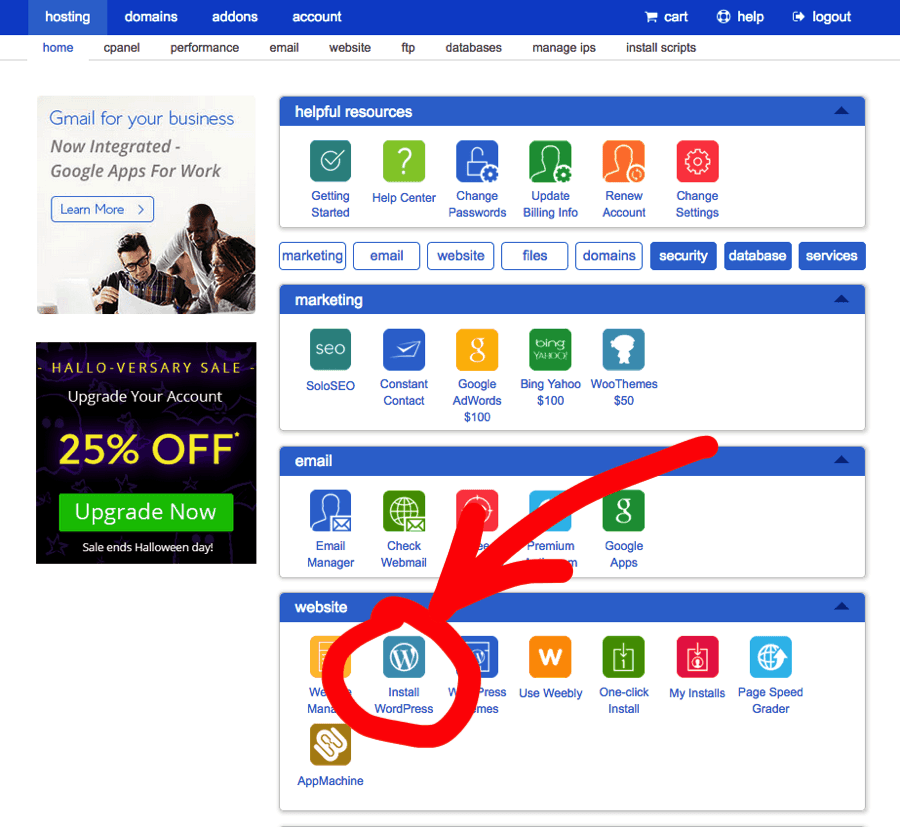
Log in to your Bluehost account, click on the “Install WordPress” button, and you are good to go.
Now you can roll up your sleeves and start blogging away!
Step four: Get Comfortable with WordPress
Now that you have all the tools you need under your belt, it’s time to start getting comfortable with the WordPress platform.
But don’t worry, it is actually pretty basic and you can learn it on your own pretty fast in just a few hours.
I recommend starting by writing a couple of blog posts so you can get the hang of it.
Besides its ease of use and simplicity, WordPress is also very extensible.
This means you can install third-party tools that can integrate with your WordPress site and help you with all sorts of things.
For example, WordPress themes are meant to enhance the visuals of your blog.
Plugins on the other hand are meant to extend the functionality of your WordPress site.
Pick a WordPress Theme
Long story short, don’t use free WordPress themes.
Free themes are good when you are starting out but as soon as you decide to get serious then you will need to switch to better themes (which are usually not free).
Remember that your theme dictates how visually appealing your site will be and this is something that you don’t want to skimp on.
Here are the only two WordPress themes that I use for all my WordPress websites:
1- Avada
This site afternerd.com uses the Avada WordPress theme.
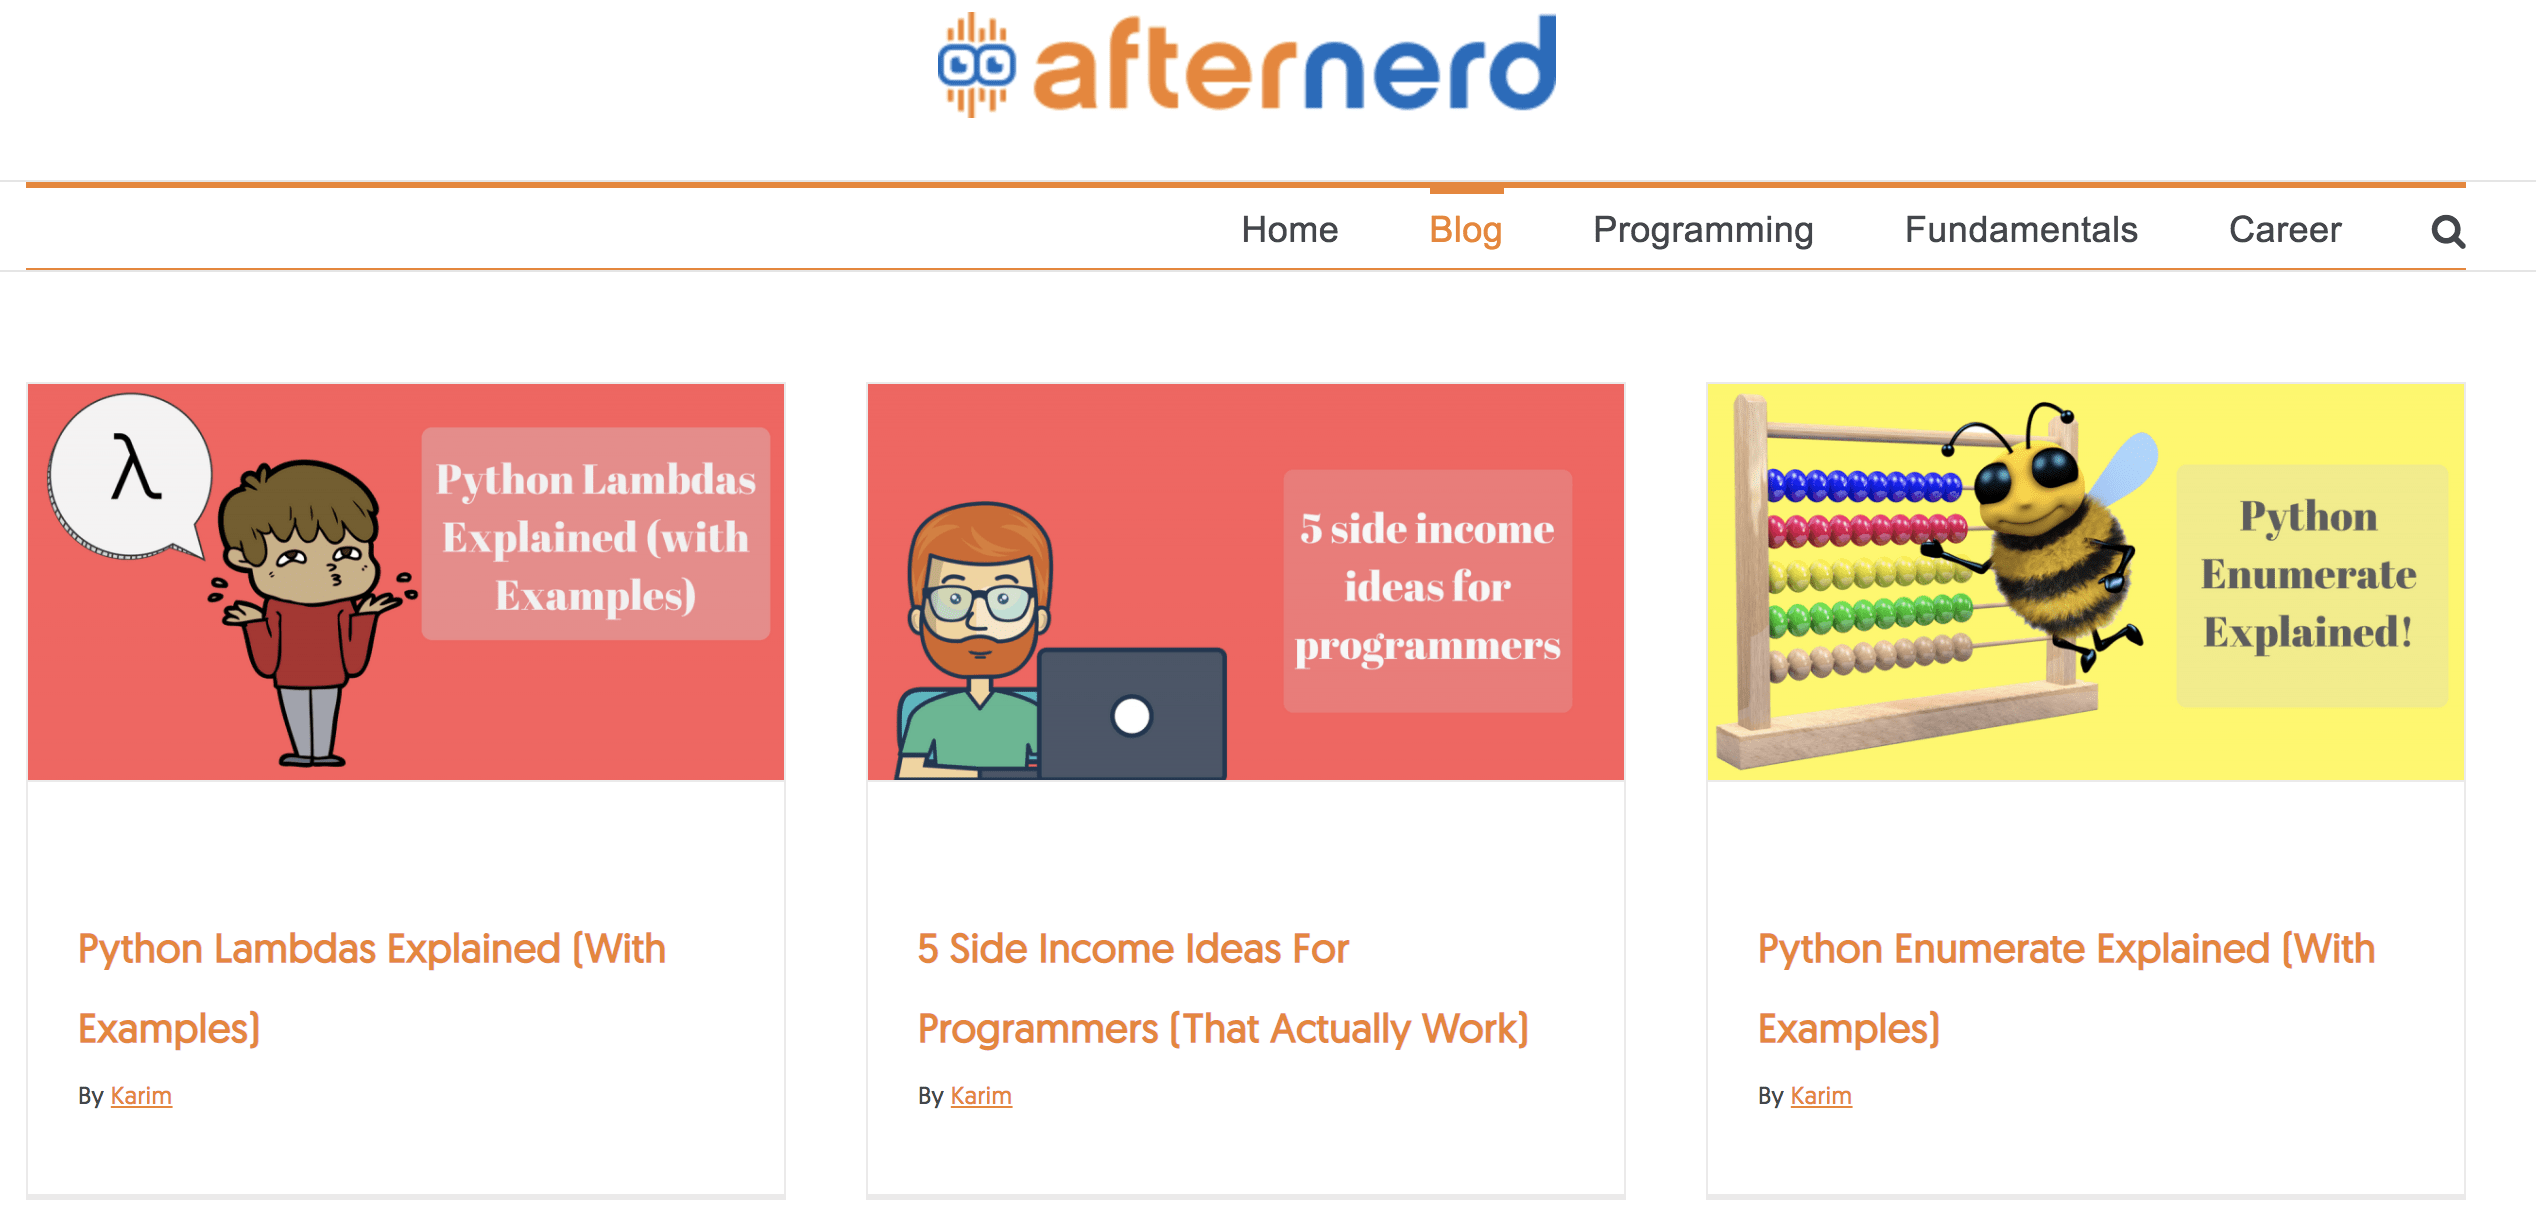
I really love this theme and I never had any problems with it.
When you buy this theme you also get a lifetime upgrade so you can always upgrade to the latest version for free.
2- Divi
Divi is probably the most popular WordPress theme on the internet.
Unlike Avada, you can’t just buy this theme alone.
To be able to download Divi, you need to join elegantthemes.
They have an annual subscription and a lifetime subscription.
With that you get access to all their themes and plugins (including Divi)
Anyway whether you go with Avada or Divi, both are great themes and you can’t go wrong with either.
Step five: Market your Blog
You see, it is one thing to create your blog, it is another thing to actually bring readers to your blog.
Marketing your blog requires a set of skills in addition to your writing skills.
You need to learn about Online Marketing.
Actually online marketing is a huge topic and there is no way I can do the topic justice by covering it in this article.
But it is REALLY important and one of the main factors that separates successful bloggers from unsuccessful ones.
With that said, let me give you some tips that will help you promote your blog and get it off the ground.
Social Media
The easiest thing you could do is to share your blog articles with your friends on Facebook, Twitter, and Linked in.
You can also share your articles on Reddit but be aware that reddit users hate promotions. So share your articles strategically.
Also you can answer questions on Quora.
This way not only will you be promoting your blog, but also you will be establishing yourself as an authority and helping other people out at the same time.
SEO
SEO means Search Engine Optimization.
In English, this means getting traffic to your website through Google 🙂
This is hands down the best source of traffic to your blog because most of your consistent traffic will actually come from Google.
Instead of you actively promoting your blog, Google can promote your blog on your behalf if Google thinks that your article answers questions that users are searching for.
This is amazing! But beware, SEO takes time.
You see, when users search on Google, they typically click on one of the first 4 results!
The lower you are in the ranking, the less likely users will visit your blog.
If you are on the second page of Google for a search query, you’ll probably get no traffic whatsoever.

Now here are three tips to help you with SEO:
1. Write articles about topics that people are searching for
Let’s face it, not every topic you will want to write about is something that other people are going to be searching for.
To succeed, you need to make sure that you are writing articles about topics that are in demand.
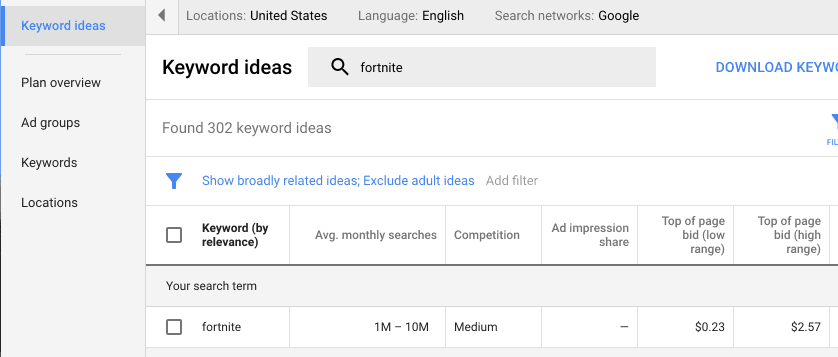
You can use tools like Google’s keyword planner to help you identify these topics.
But wait a minute, does that mean you shouldn’t write articles about topics you are passionate about if these topics don’t have enough search volume?
Absolutely not.
What I am saying is that you will most likely need to rely on other methods of promoting this type of articles outside of Google.
For example, you can use social media, reddit, email marketing, or even link to these articles from other SEO-friendly articles on your blog ;).
2. Write evergreen articles
Most of your articles should be evergreen.
By evergreen I mean articles that are going to be relevant for a long period of time.
For example, writing an article about “How to build a habit” is definitely more evergreen than writing an article about a political event.
The reason is because evergreen articles are a better investment of your time because they will keep bringing new readers to your blog for years and years to come whereas non-evergreen articles are only relevant for a shorter period of time.
3. Write amazing articles
Writing really good blog posts is actually crucial.
Honestly, Google is doing an amazing job bringing the best articles to the top of their search results (most of the time).
This means that you should focus on writing articles that are better than your competition’s.
If you do that, you will be fine. It is really that simple. Quality over quantity.
One final thing, be patient.
Sometime it can take up to 6 months before a new article on your blog can bring any traffic from Google.
SEO is a marathon not a sprint but if you actually enjoy writing and sharing your passion, then being patient isn’t really going to be a problem.
Conclusion
Starting a blog can be very useful for you on so many levels.
To be able to start blogging right away, you need to pick a good web host, a brandable domain name, and a visually appealing WordPress theme.
You also need to learn about the art and science of promoting your blog, whether through SEO or social media.
Good luck in your blogging journey 🙂